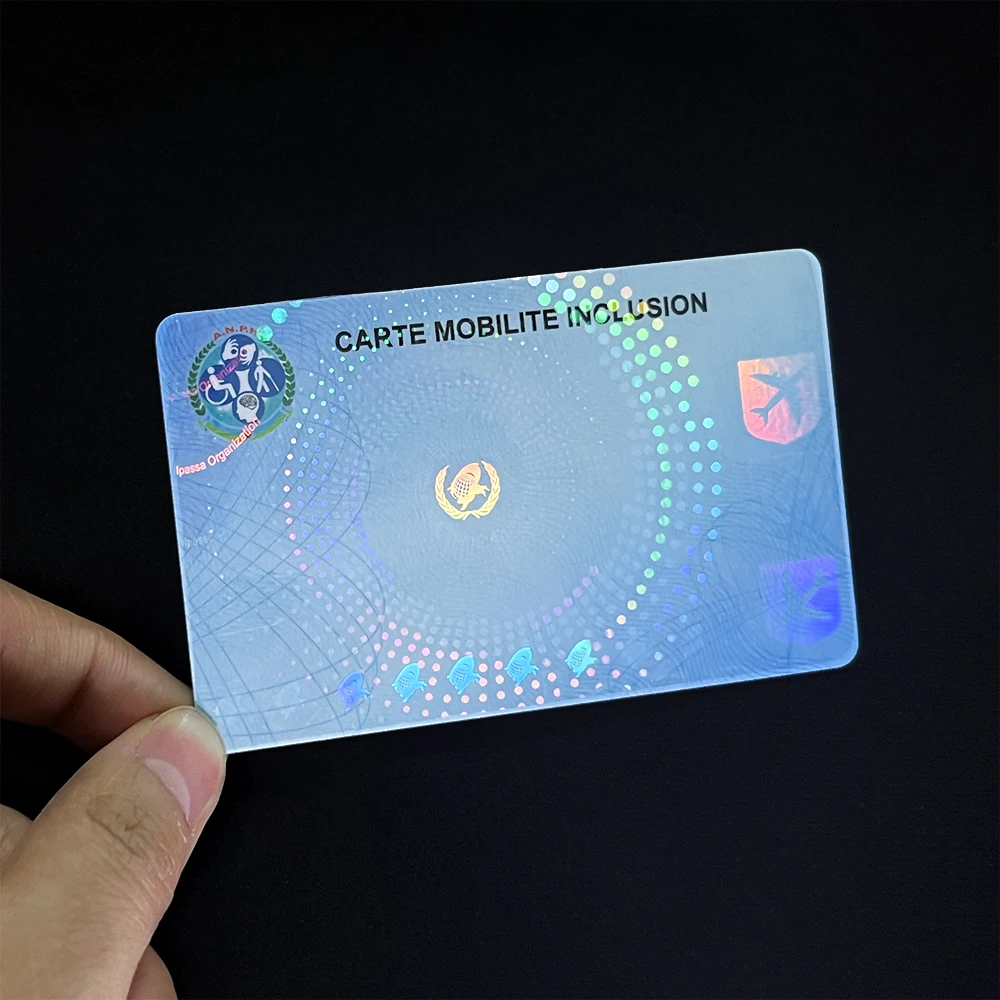
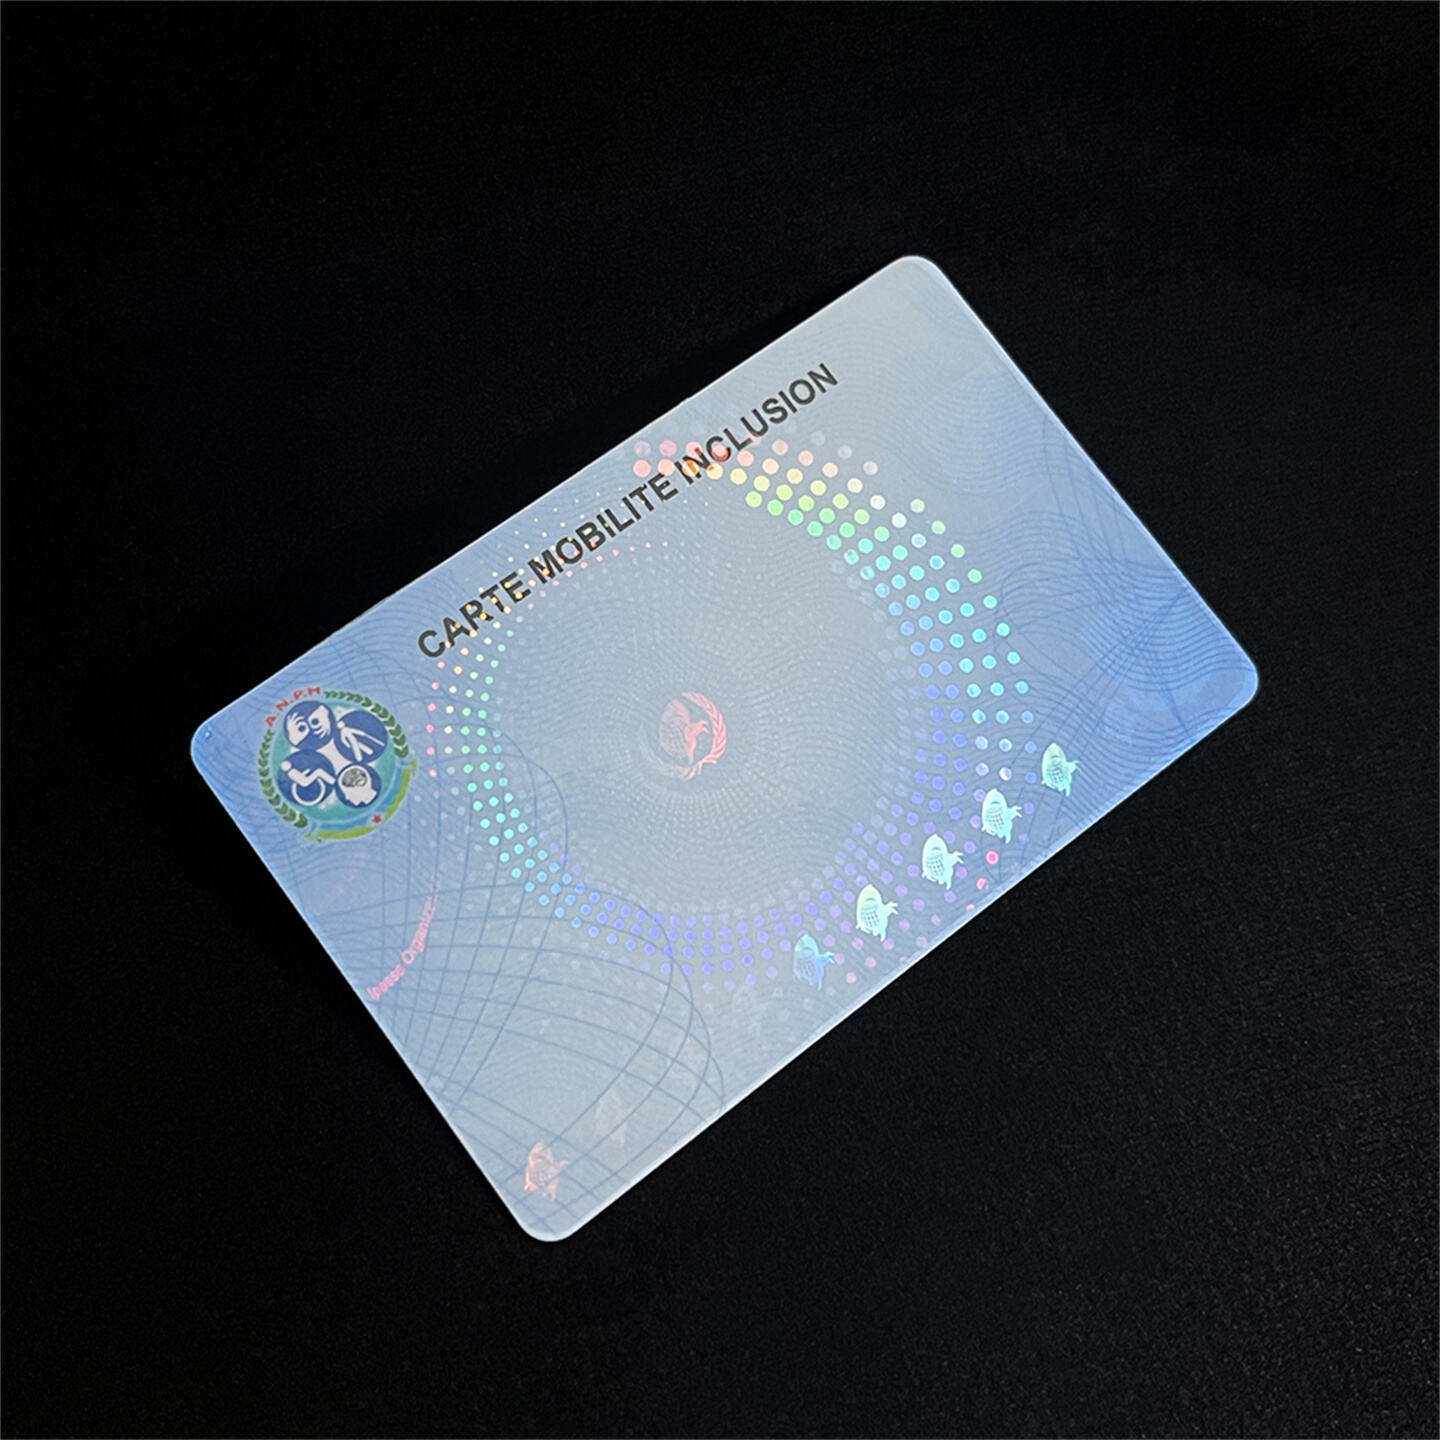
As technology advances and security requirements increase, identity cards with optical security features have become an important means of preventing counterfeiting and safeguarding public security. This type of ID card builds a multi-level anti-counterfeiting system through advanced optical technology and material technology, and its production process integrates cutting-edge technology and precision craftsmanship.

Optical Security: Three Layers of Physical Protection for Trusted Identity
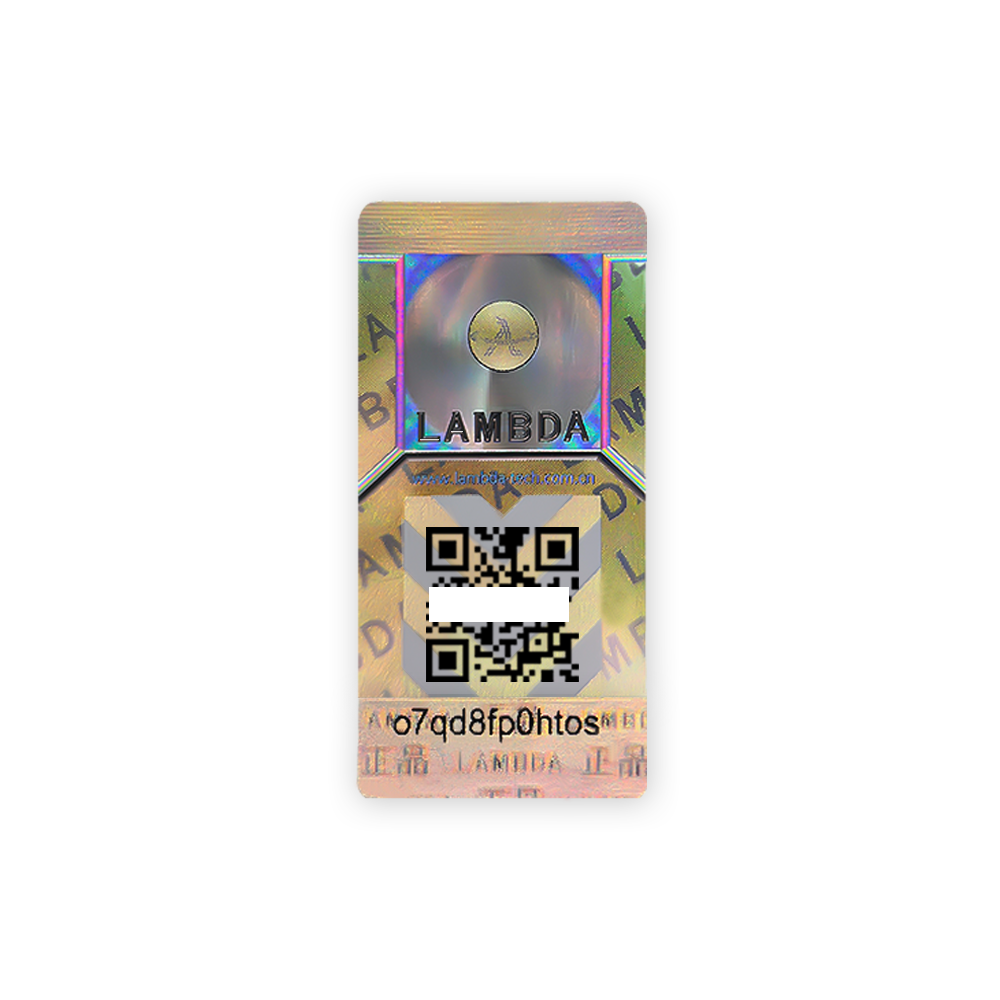
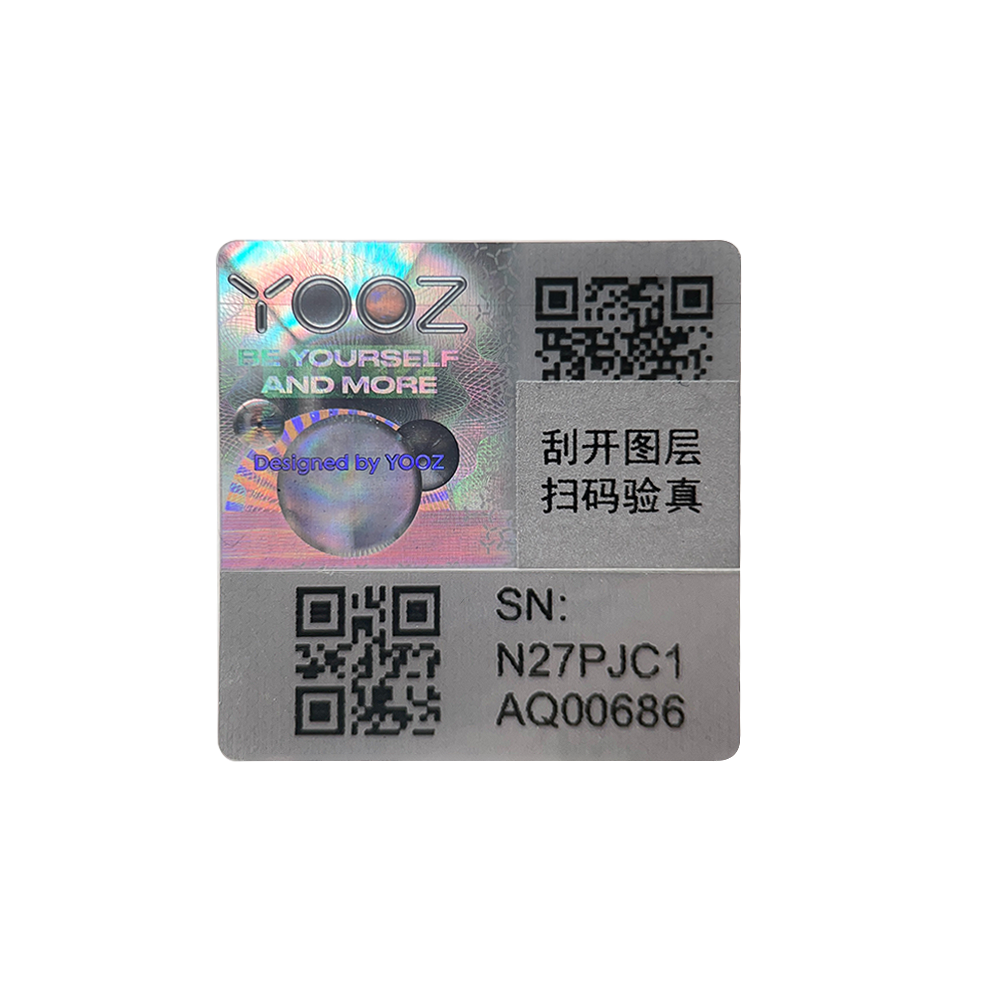
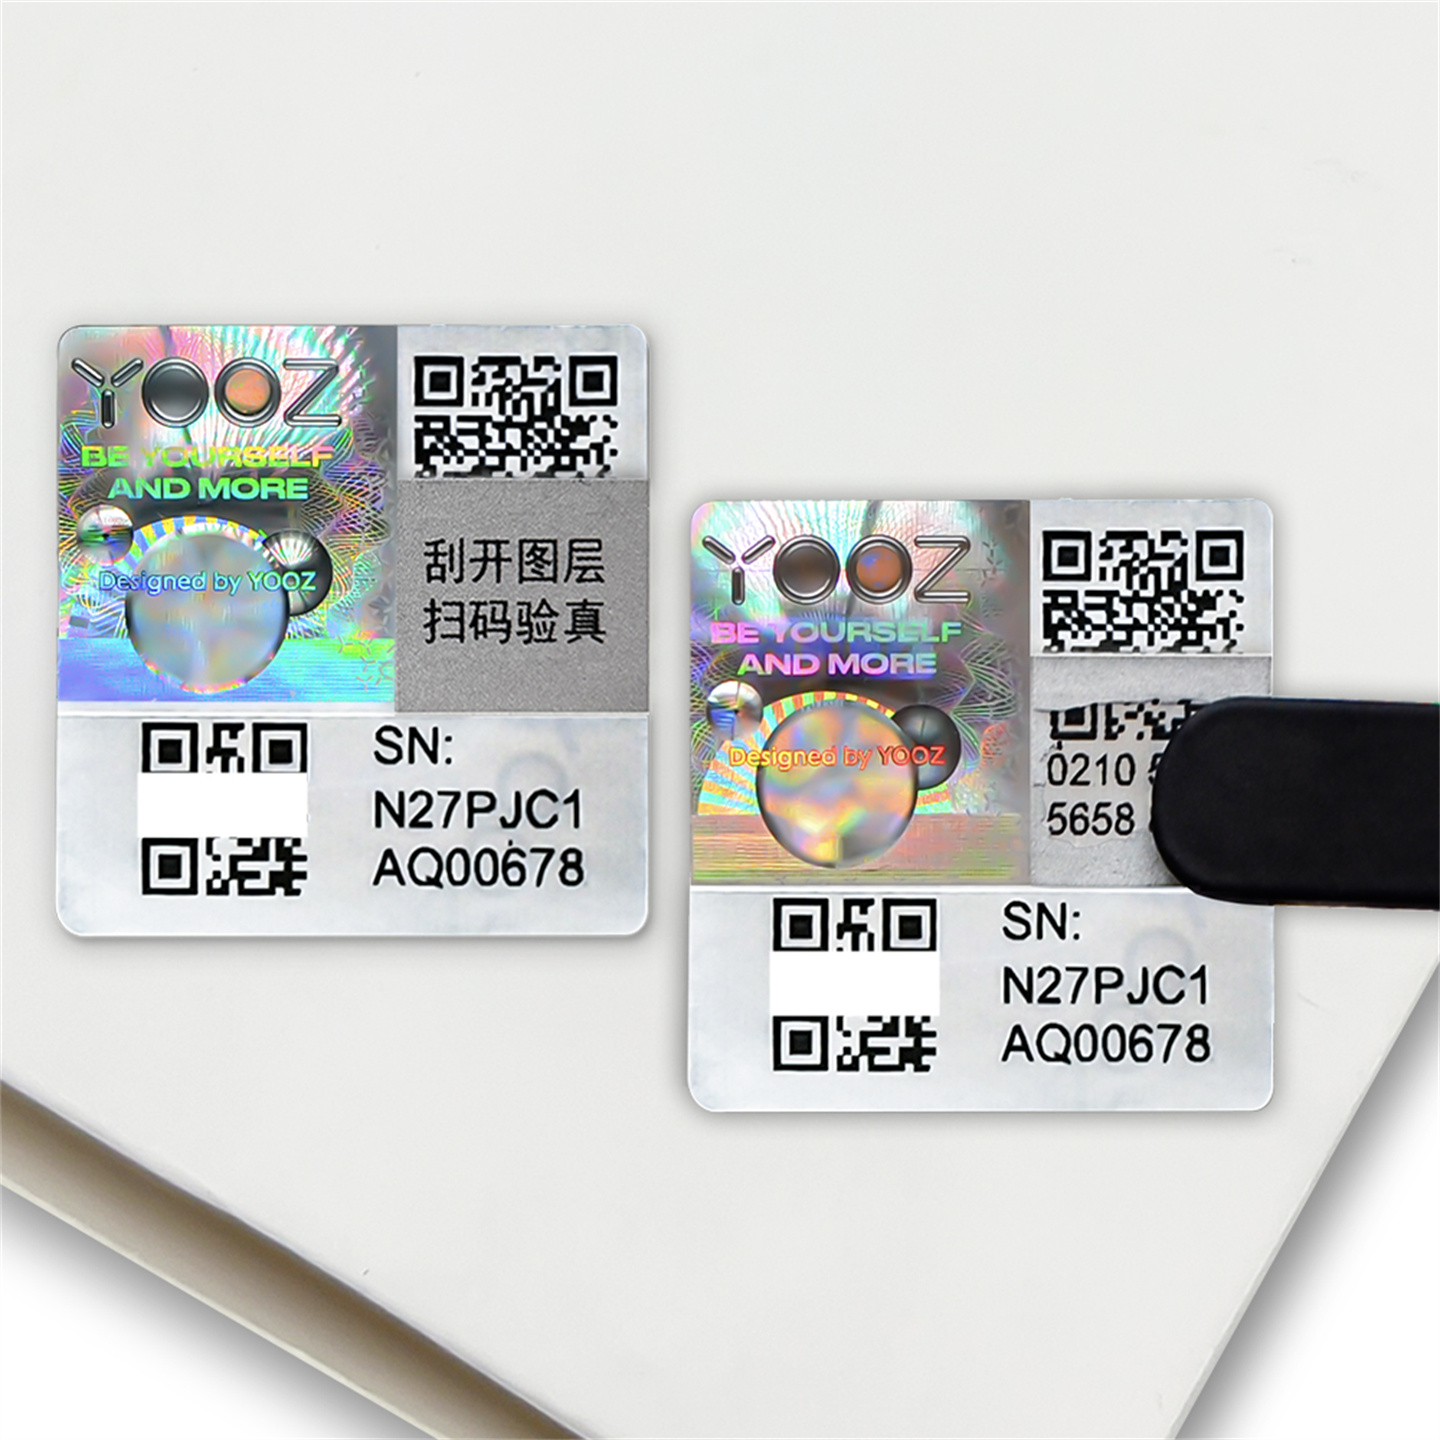
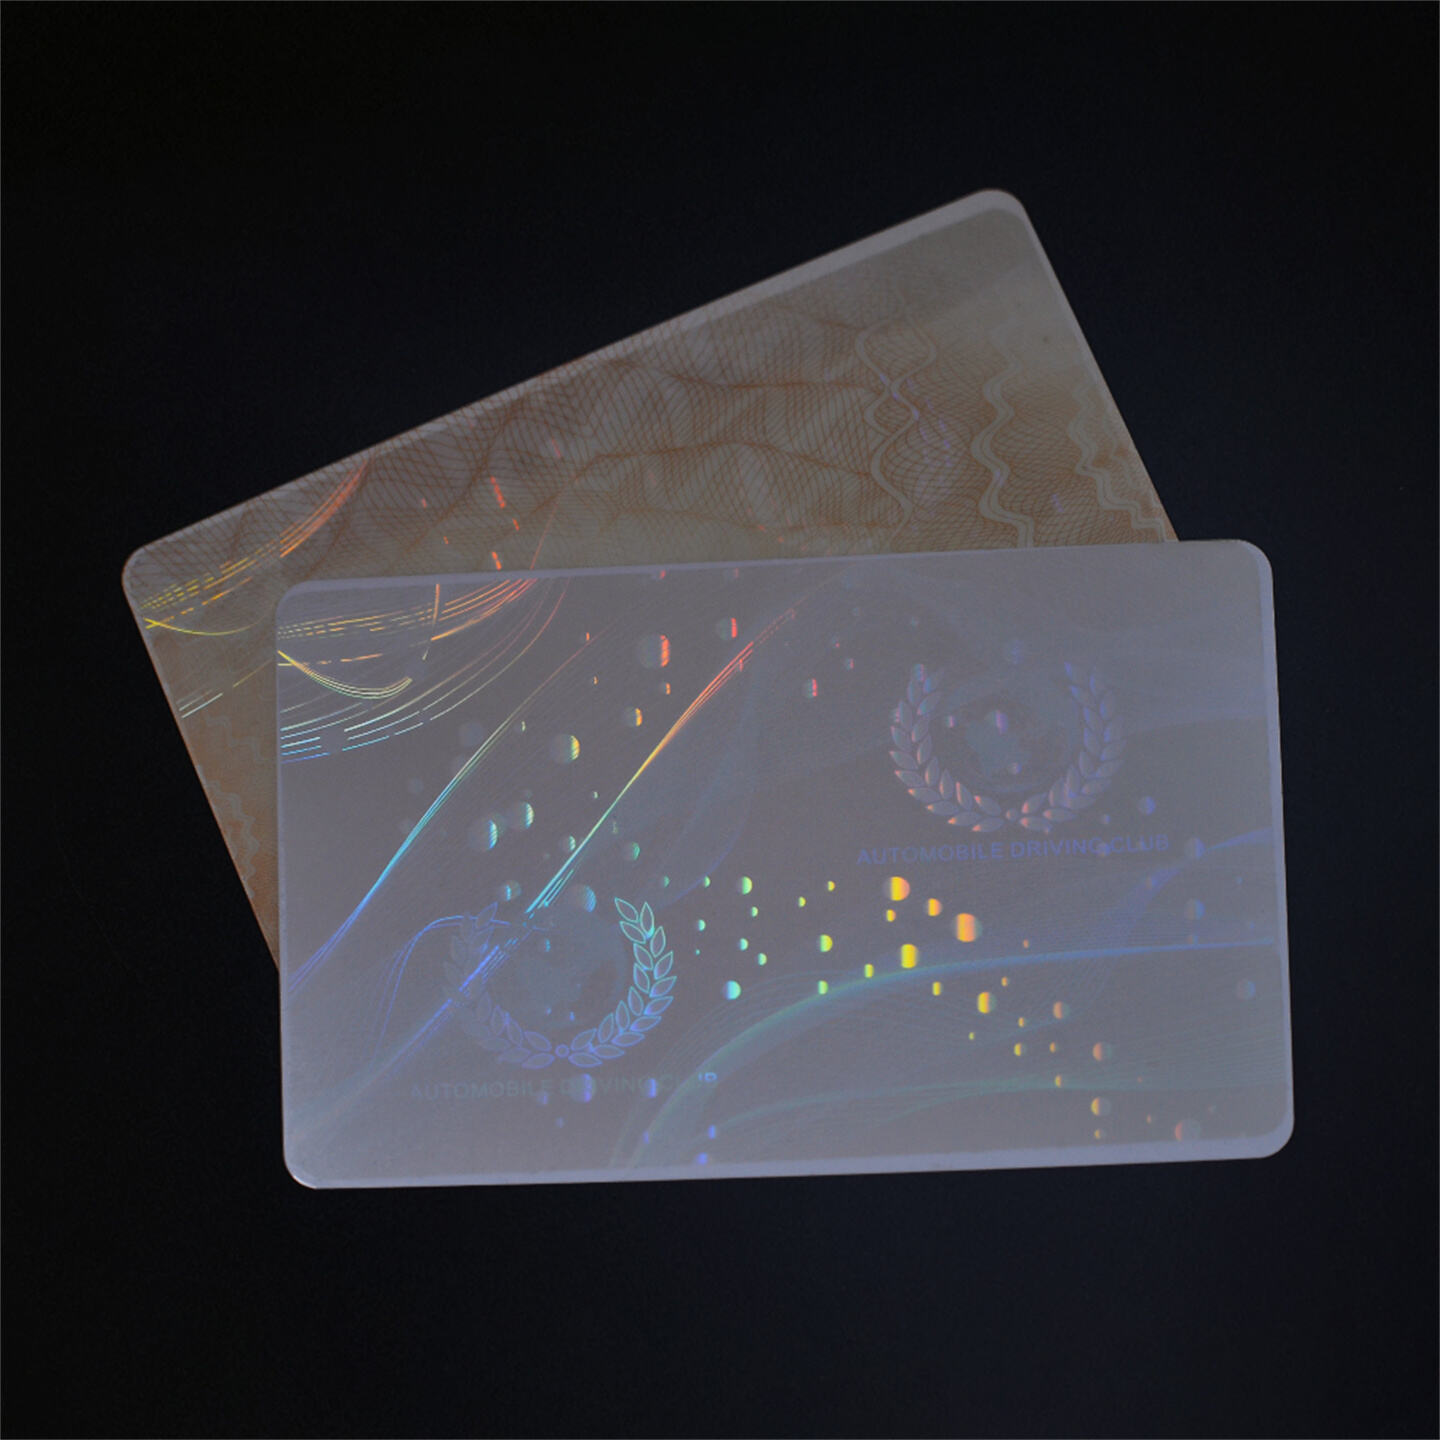
Optical anti-counterfeiting uses micro-nano structures to generate effects that are nearly impossible to copy. Unlike barcodes or magnetic strips, this technology adds a visible, physical layer of protection.
Three Core Features of Optical Security Overlays

How to Make a Secure Optical ID Card
Creating a secure ID card involves three steps. Each step adds to the final card's strength and durability.
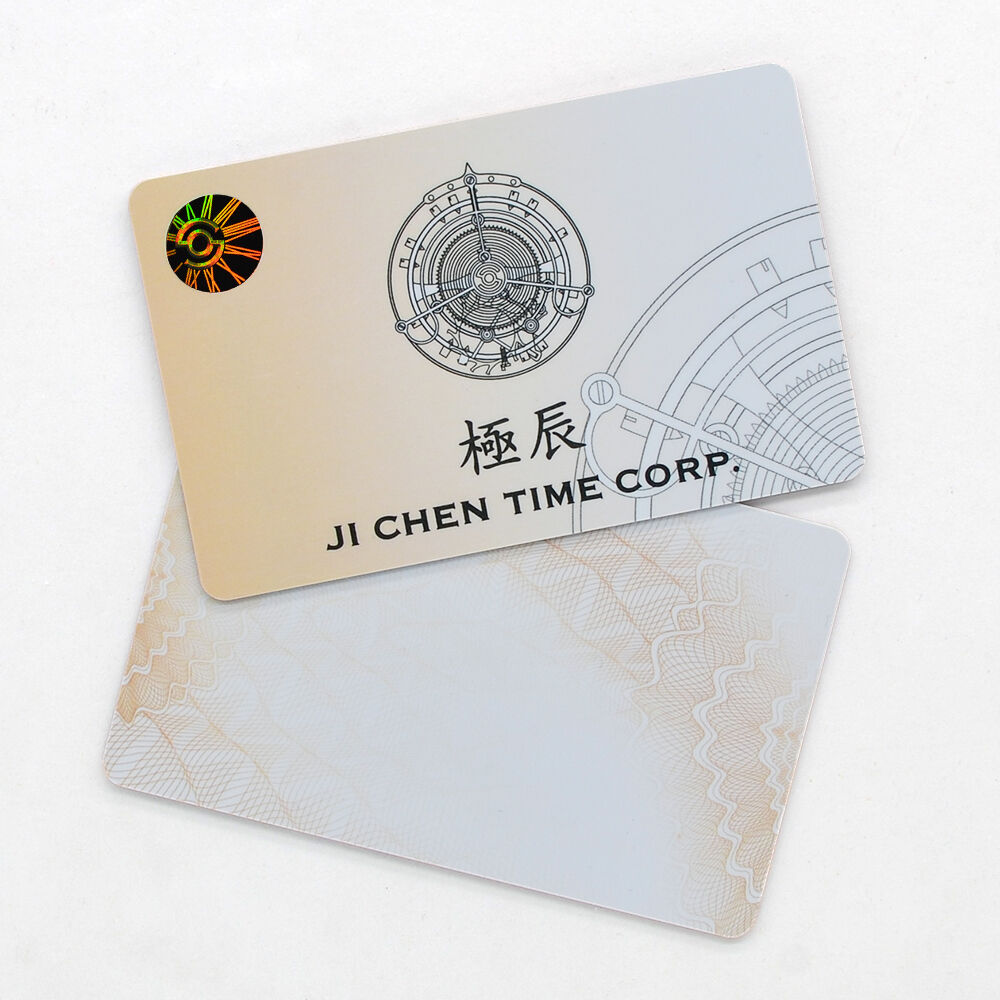
Step 1: Card Pre-Production
First, card specifications such as layout, materials, and background patterns are confirmed with the client. Cards are then produced using large-scale card manufacturing machines. Popular materials include:
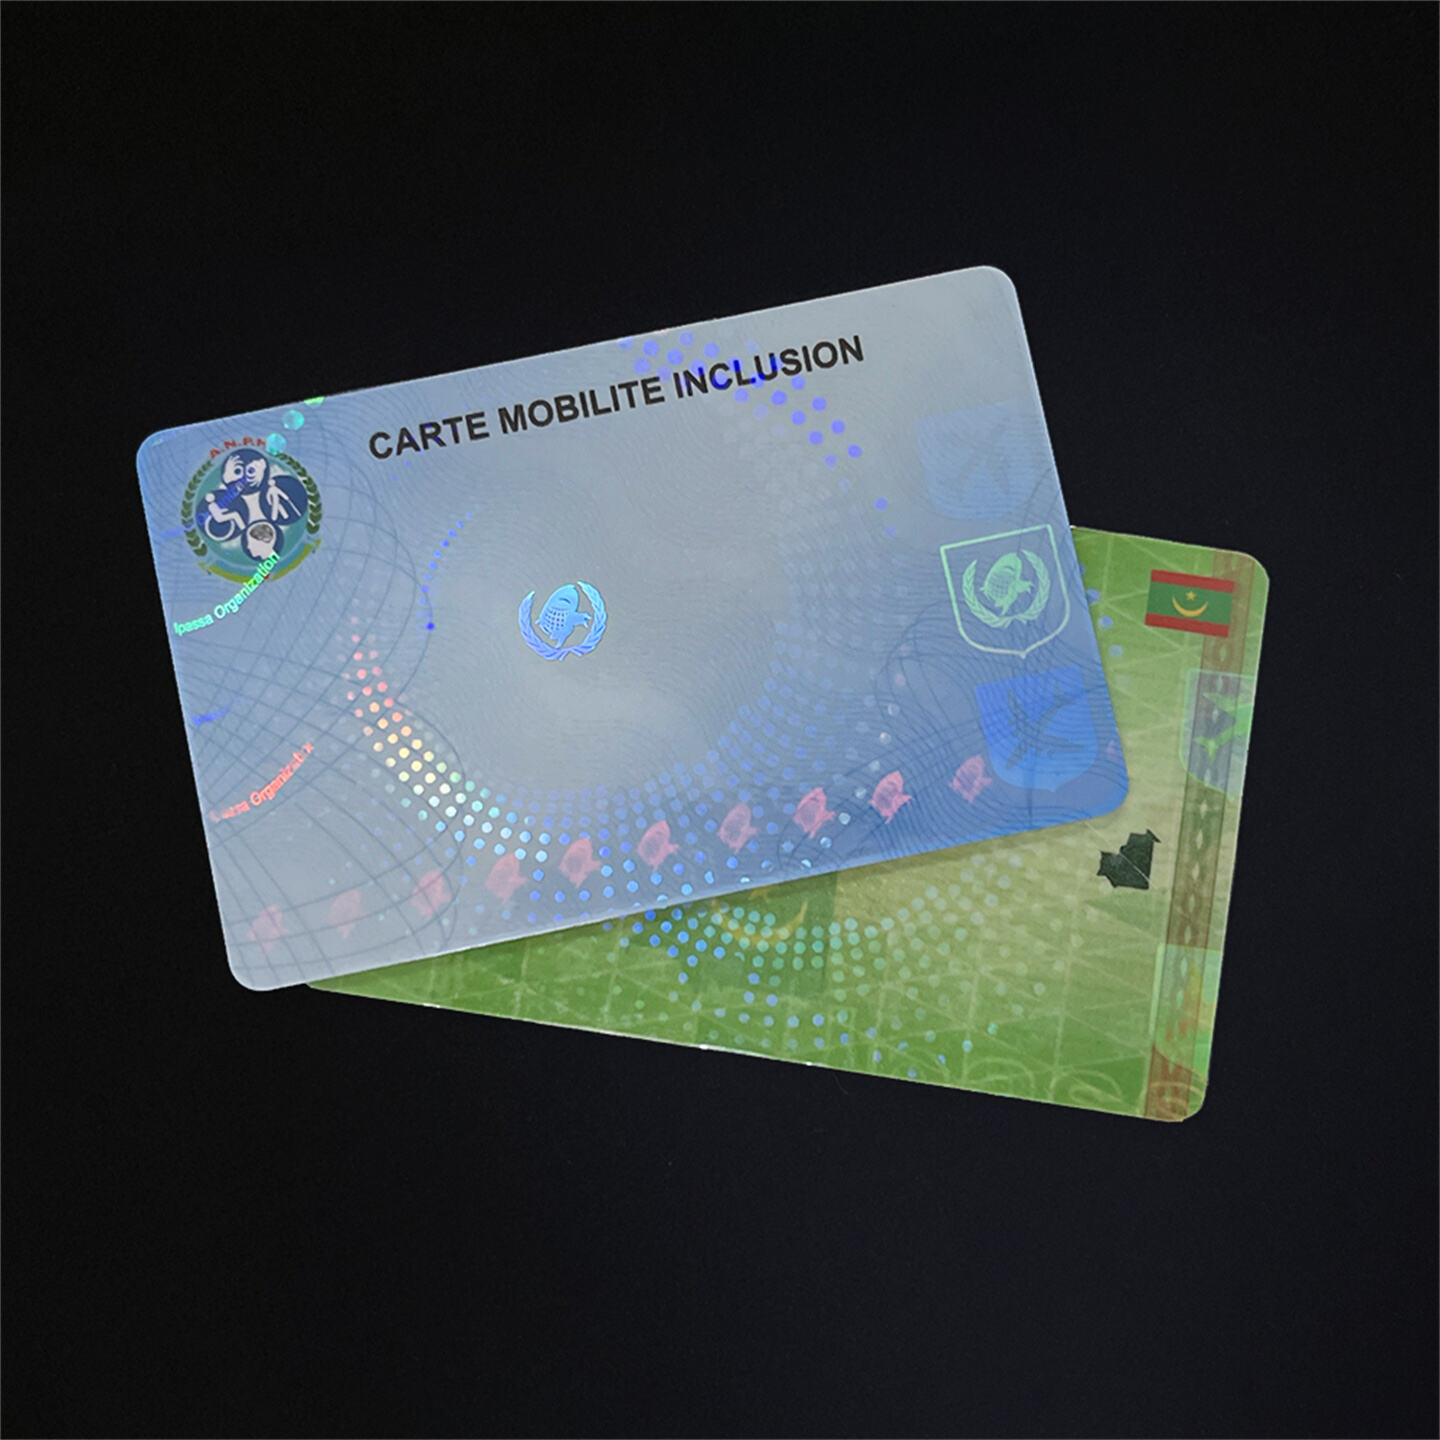
At this stage, fixed content such as company logos, design elements, or department names may also be pre-printed to speed up the later personalization. These pre-manufactured cards serve as the base for printing personalized data and applying the hologram overlay.
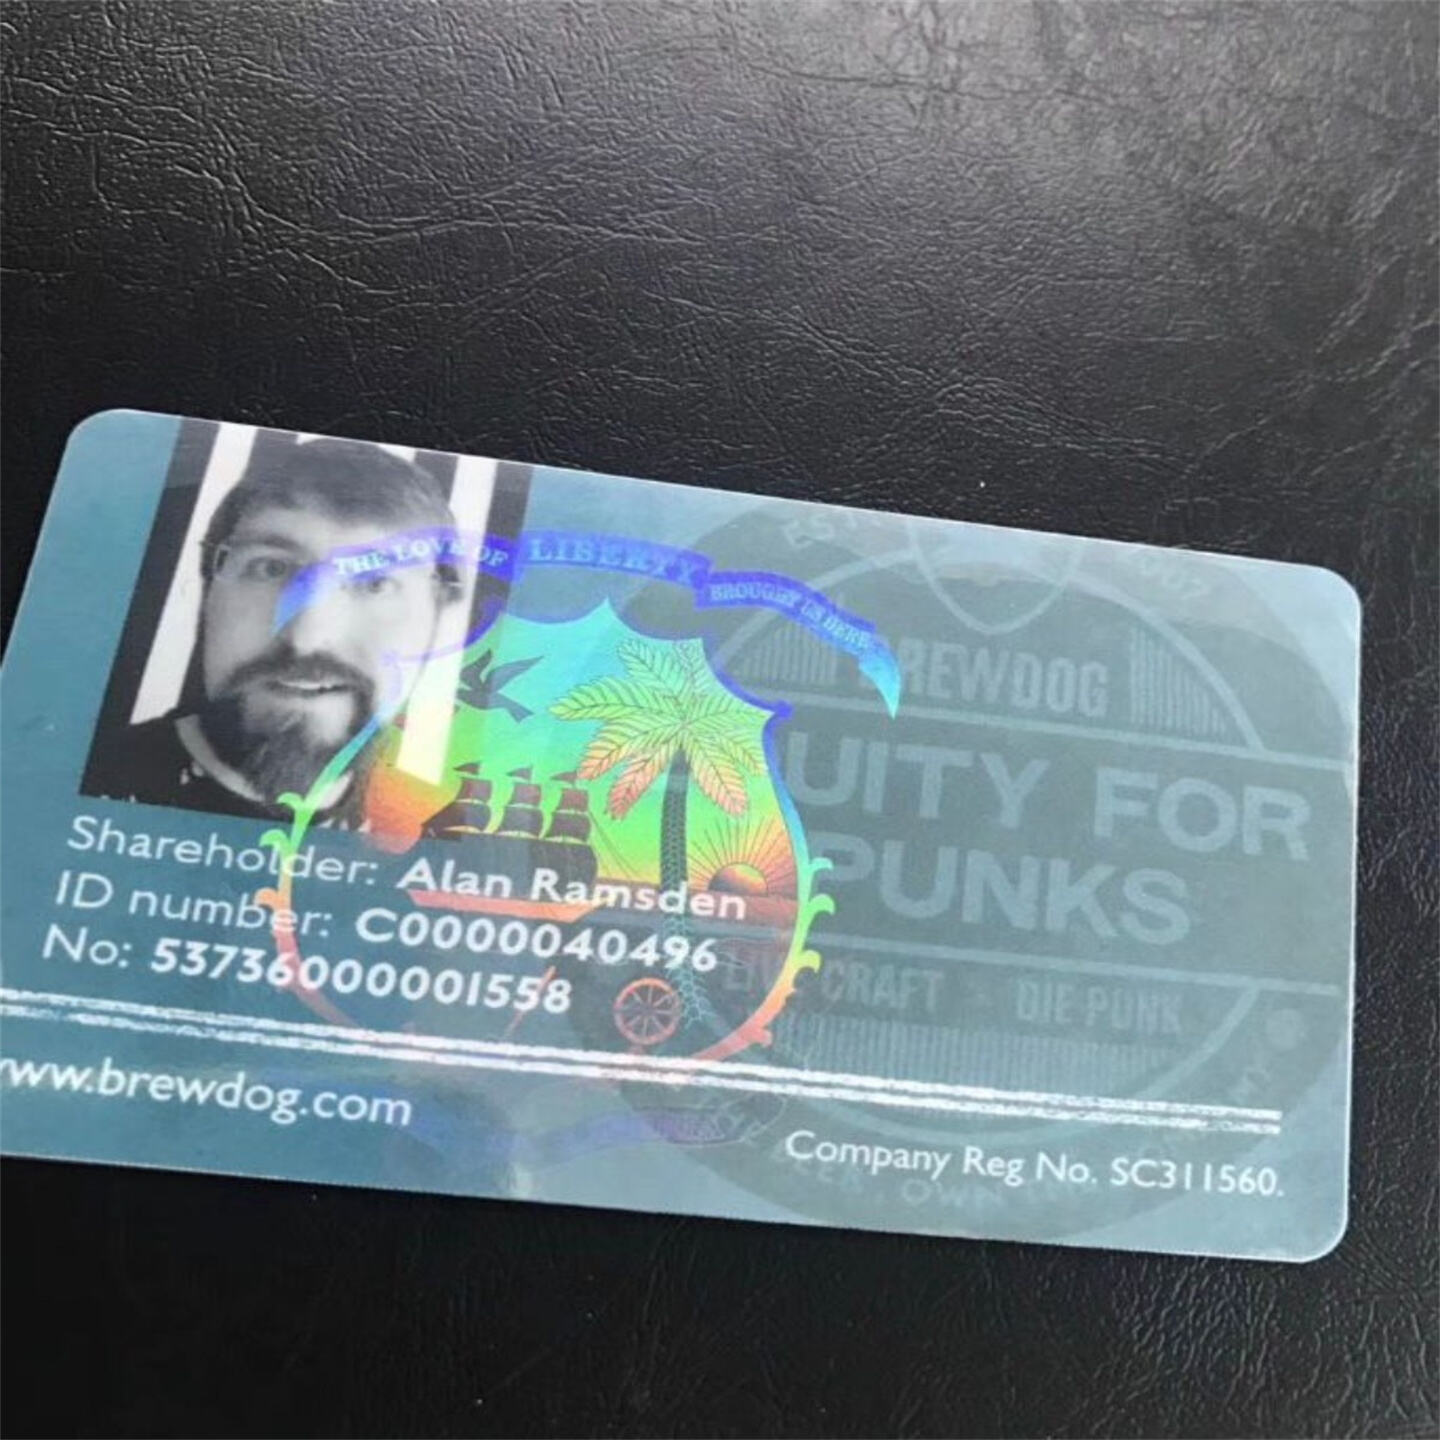
Step 2: Print Personalized Information

Use UV-curable inkjet printing or laser engraving to add photos, IDs, and biometrics. Incorporate invisible inks (e. g. , NIR-readable) for hidden data. Ensure printing doesn't obscure pre-embedded optical features.
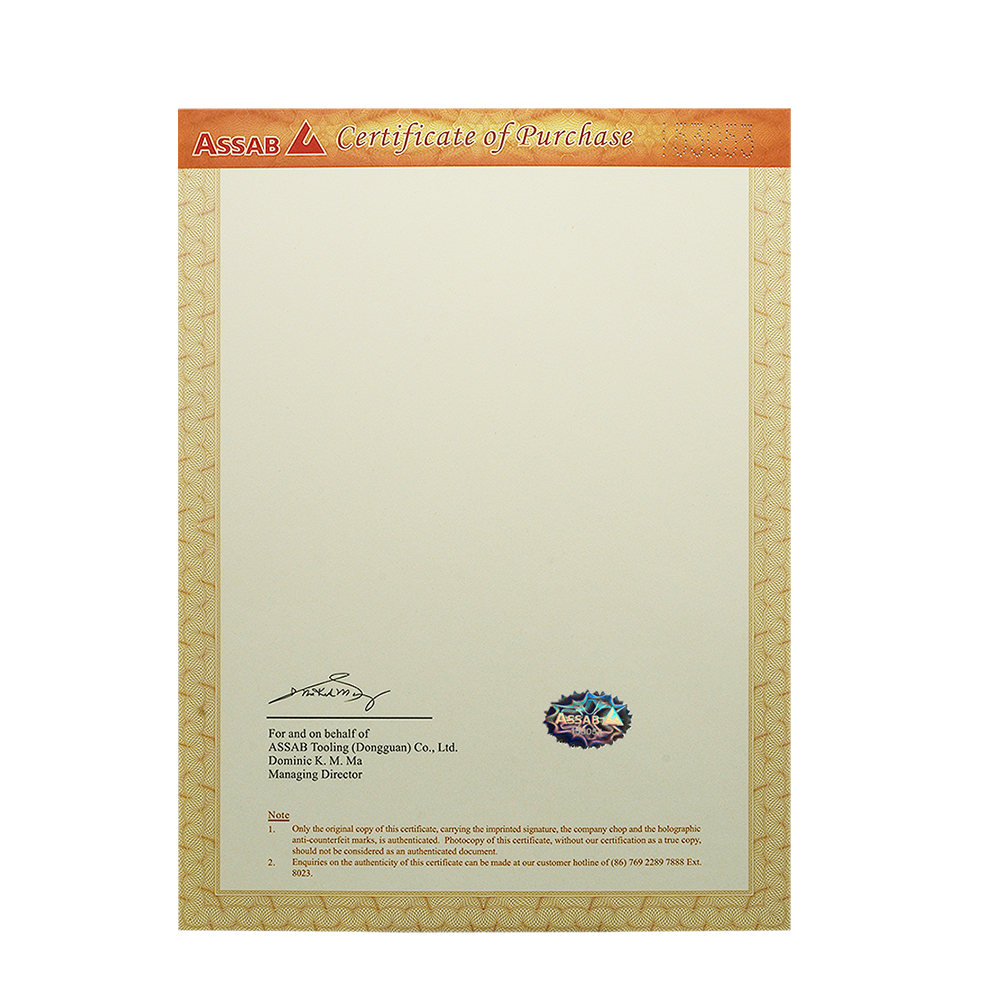
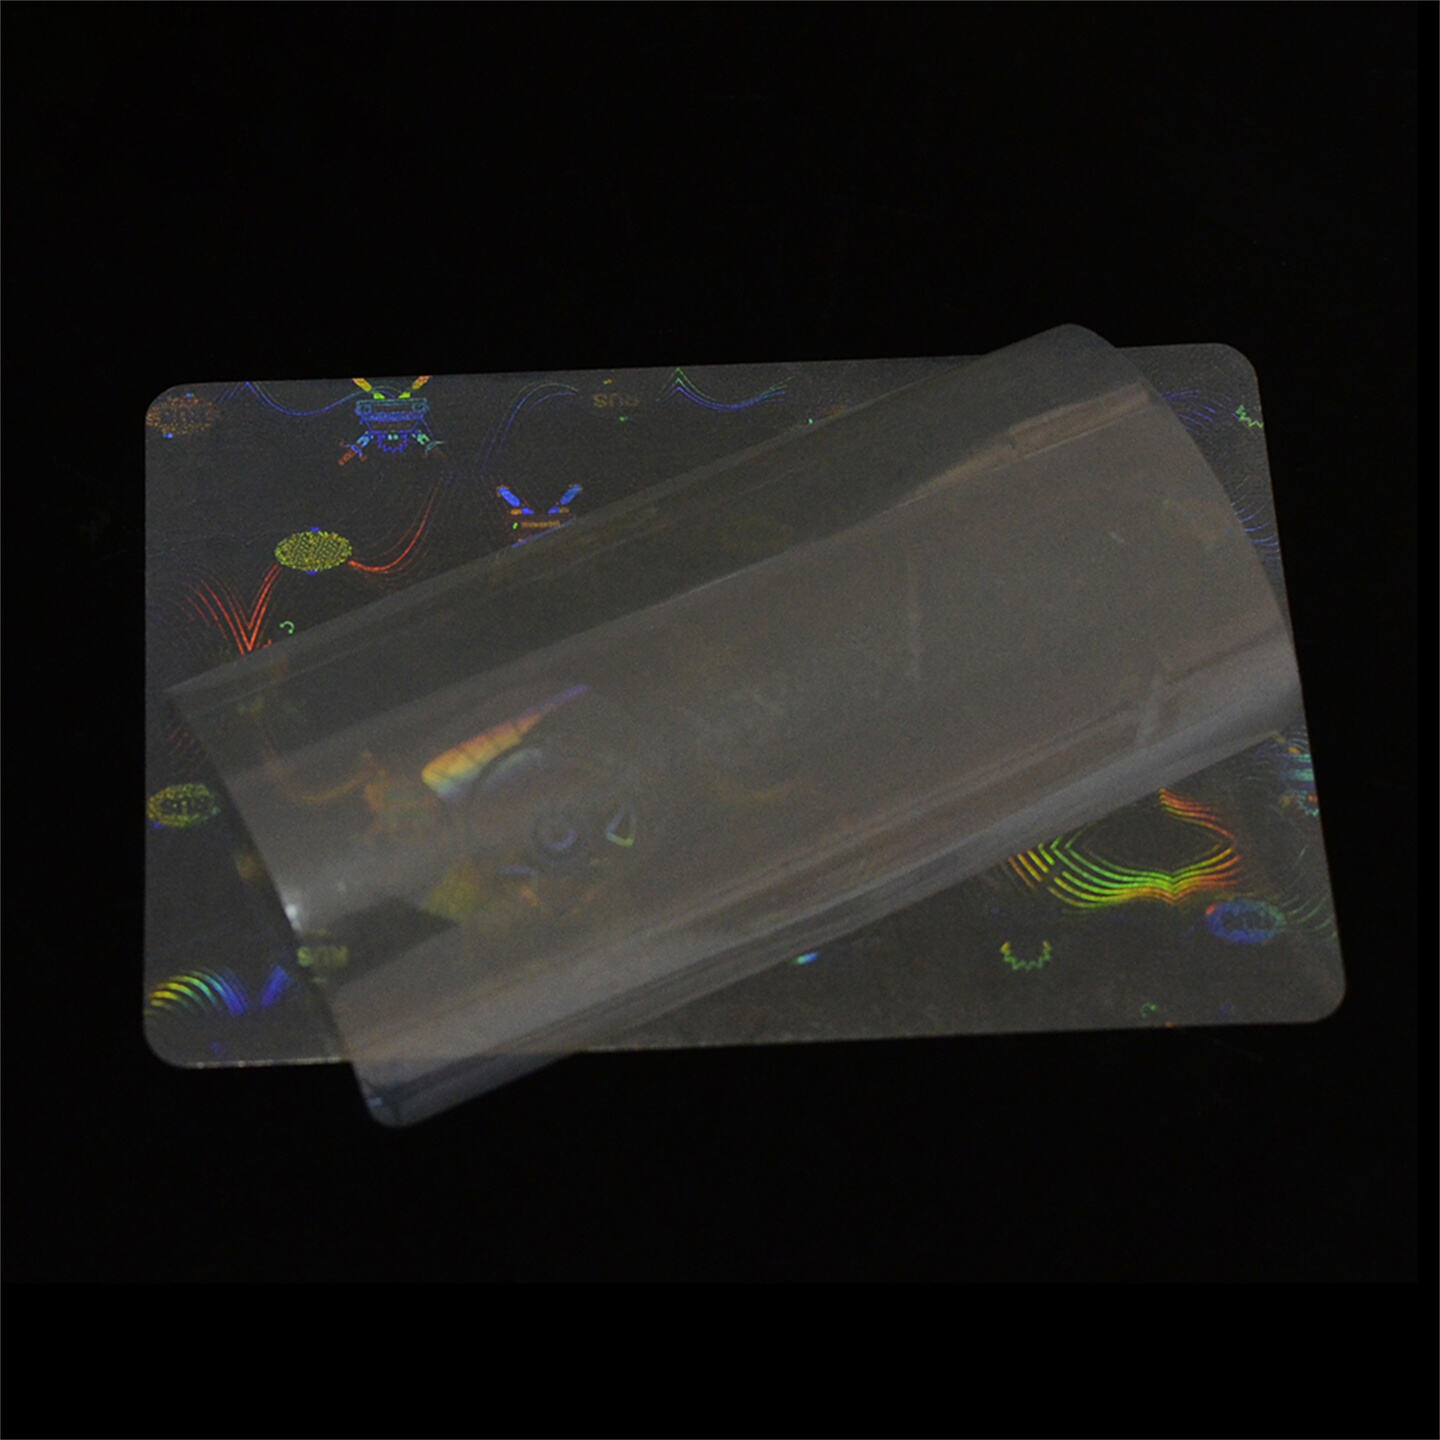
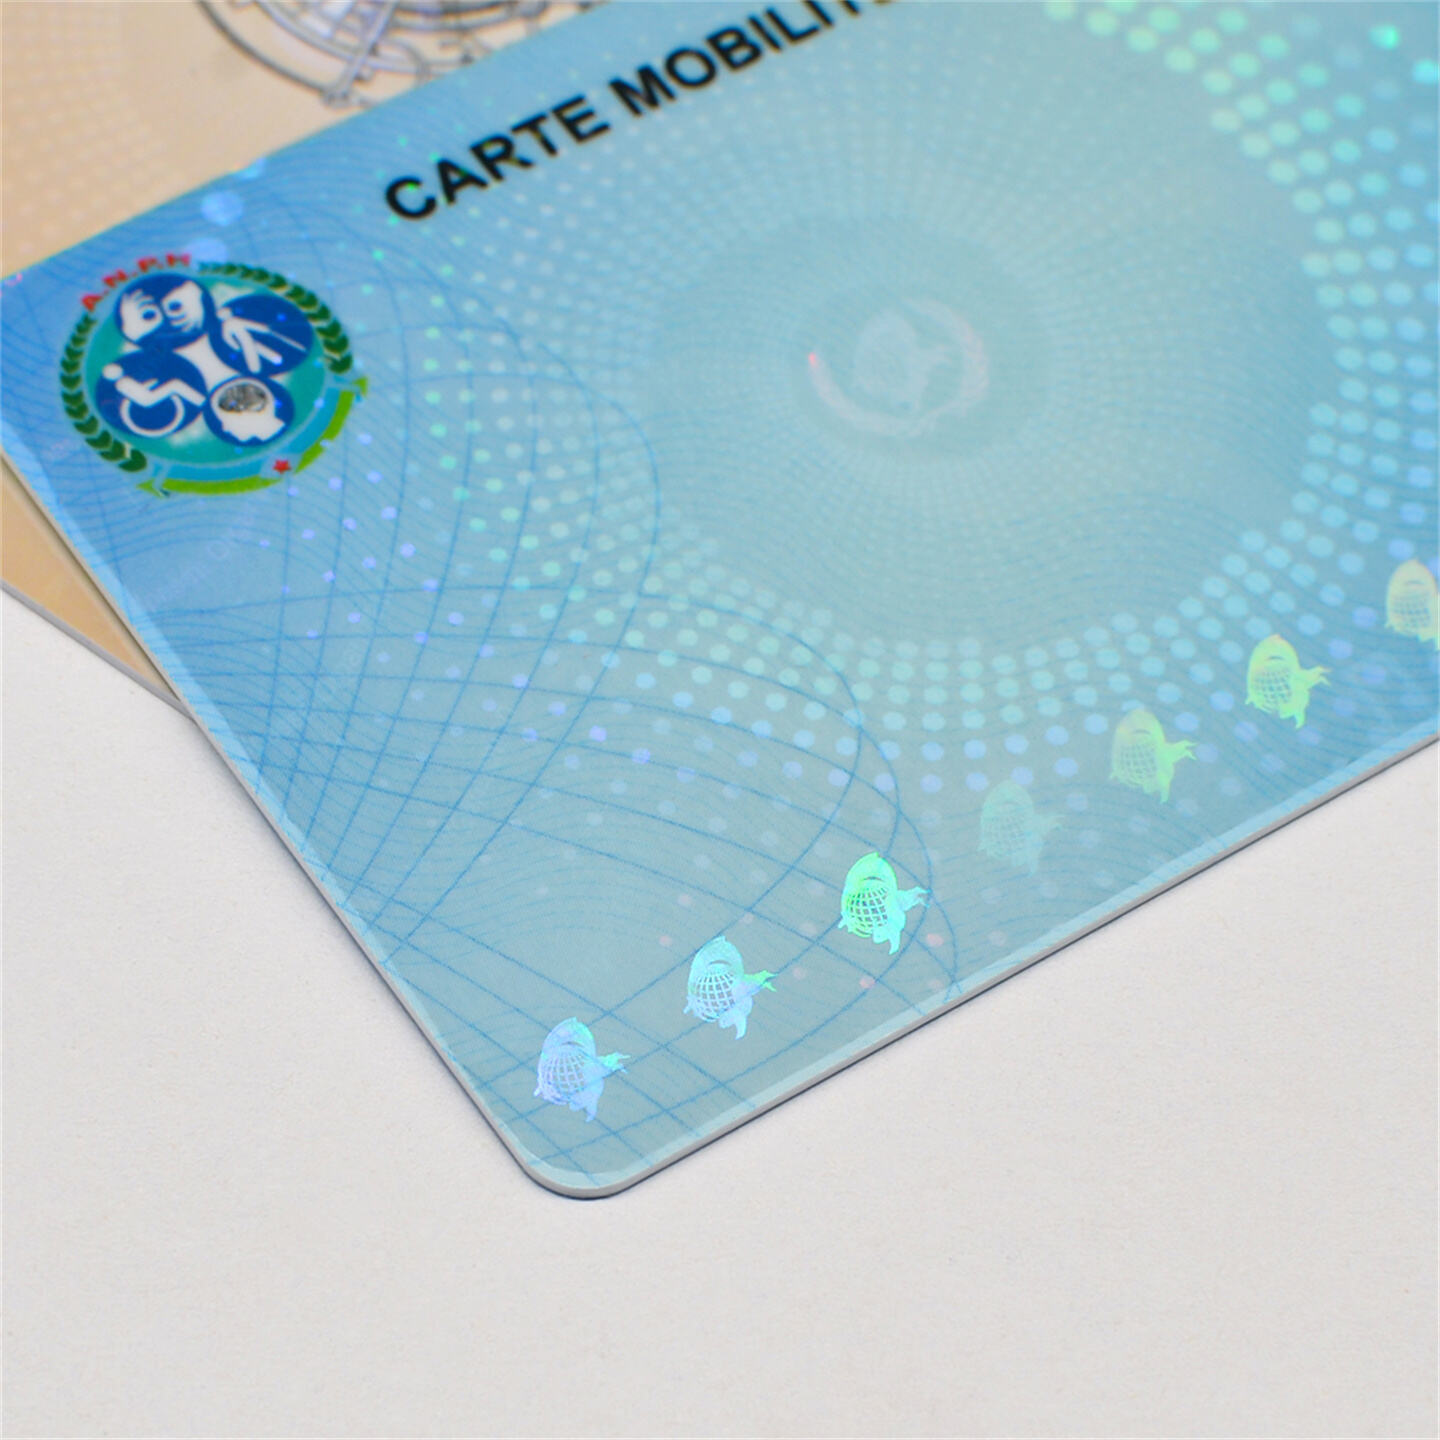
Step 3: Optical Overlay Lamination
The final and most critical step is applying the optical anti-counterfeiting overlay. A transparent film containing optical security elements is hot-laminated onto the card's surface using a specialized laminator, sealing all printed information underneath.

This lamination process offers multiple benefits:
Modern laminators are fast and easy to use. They heat up instantly and work with film rolls that can cover around 500 cards. You can also connect the laminator to the printer for a smooth, one-step process.
By integrating these stages, manufacturers produce optical ID cards that serve as robust safeguards against counterfeiting, while maintaining usability and durability for everyday use.
Need help designing a secure and customized ID card solution for your application? Contact us today — we're here to assist!
 Hot News
2025-05-08
2025-05-08
2025-05-08

Welcome to Yiko, specializing in holographic anti-counterfeiting labels and security printing. We provide cutting-edge anti-counterfeiting solutions.
No. 6, Jinsheng 5th Road, Jinping Industrial Zone, Shantou City, Guangdong Province
Copyright © Shantou Yiko Anti-counterfeit Technology Co., Ltd. All Rights Reserved. Privacy Policy